

Introduction
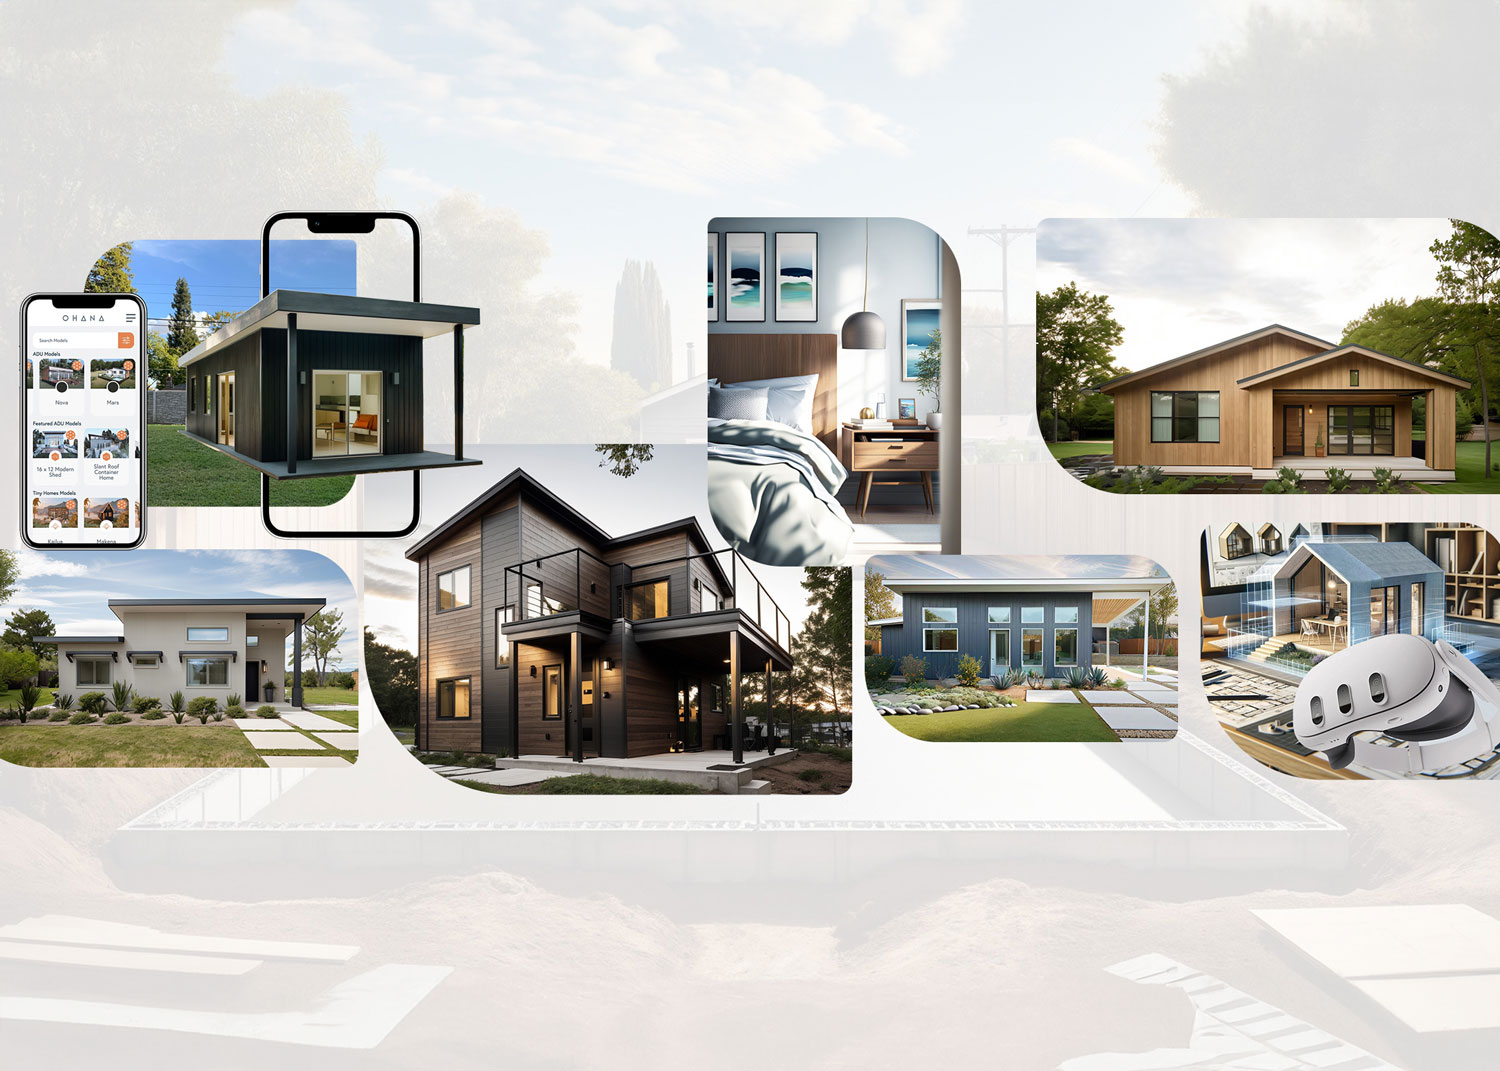
As the trend for Accessory Dwelling Units (ADUs) continues to rise, homeowners are looking for innovative and efficient ways to add these versatile spaces to their properties. With the advancements in technology, designing your dream ADU has never been easier, thanks to tools like the Ohana 3D Configurator. This DIY guide will walk you through the steps of using this cutting-edge tool to bring your ADU vision to life, ensuring a seamless and enjoyable design process.
Step 1: Getting Started with the Ohana 3D Configurator
First, navigate to the Ohana 3D Configurator platform. The configurator is accessible on various devices, but for the best experience, we recommend using a desktop or laptop. Before diving into the design, ensure you're signed in so that all your progress is saved for future reference.
Step 2: Selecting Your Base Model
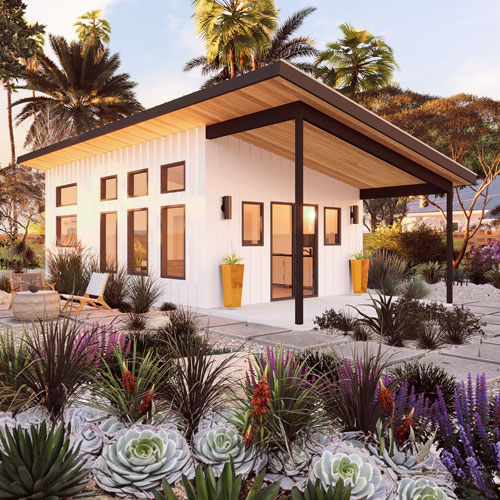
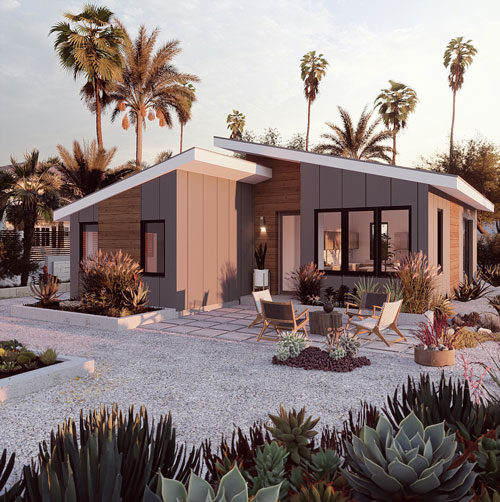
The journey begins with choosing a base model for your ADU. The Ohana Configurator offers a range of models to suit different needs and lot sizes. Consider the intended use of your ADU – be it a guest house, home office, or rental unit – and select a model that aligns with your requirements.
Step 3: Customizing Layout and Design
With your base model selected, it's time to personalize your ADU. The configurator's intuitive interface allows you to modify various aspects of the design:
- Layout Adjustments: Tweak the floor plan to include or remove rooms, adjust room sizes, and optimize the layout for your lifestyle.
- Exterior Features: Choose roofing styles, exterior finishes, and window types. Experiment with different combinations to achieve the desired curb appeal.
- Interior Design: Select flooring, wall colors, and fixtures. The Ohana Configurator offers a vast selection, enabling you to explore various interior themes.
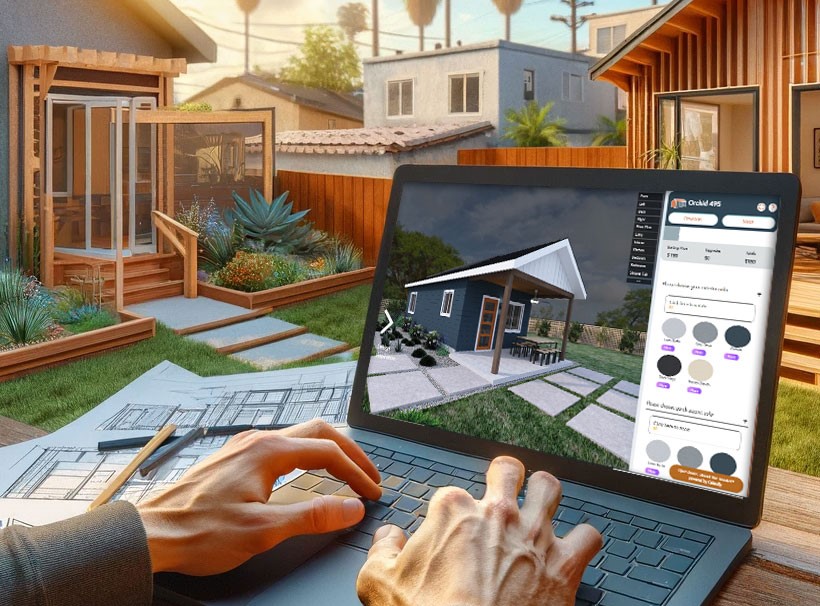
Step 4: Real-Time 3D Visualization
One of the configurator's most powerful features is its real-time 3D visualization. As you make changes, the 3D model updates instantly, allowing you to see your ADU from different angles. This immersive experience helps in making informed design decisions, ensuring the final product aligns with your vision.
Step 5: Using the Ohana Product Clipper
For an even more personalized touch, utilize the Ohana Product Clipper. This feature enables you to import specific finishes and materials directly into your 3D model. Browse your favorite suppliers, clip images of desired finishes, and seamlessly integrate them into your design, ensuring your ADU truly reflects your personal style.
Step 6: Saving and Sharing Your Design
After finalizing your design, save your configuration. The Ohana Configurator allows you to share your design with family, friends, or your building team, facilitating collaboration and feedback. This step is crucial in refining your ADU design and ensuring it meets all your expectations.
Step 7: Consultation and Next Steps
With your design complete, consider scheduling a consultation with an Ohana specialist. They can provide valuable insights, answer any lingering questions, and guide you through the next steps in bringing your ADU project to fruition.
Conclusion
Designing your dream ADU doesn't have to be a daunting task. With the Ohana 3D Configurator, the process becomes an enjoyable journey of creativity and discovery. By following this step-by-step guide, you'll not only design an ADU that complements your home but also enhances your property's value and functionality. Start designing today and take the first step towards realizing your dream ADU project.